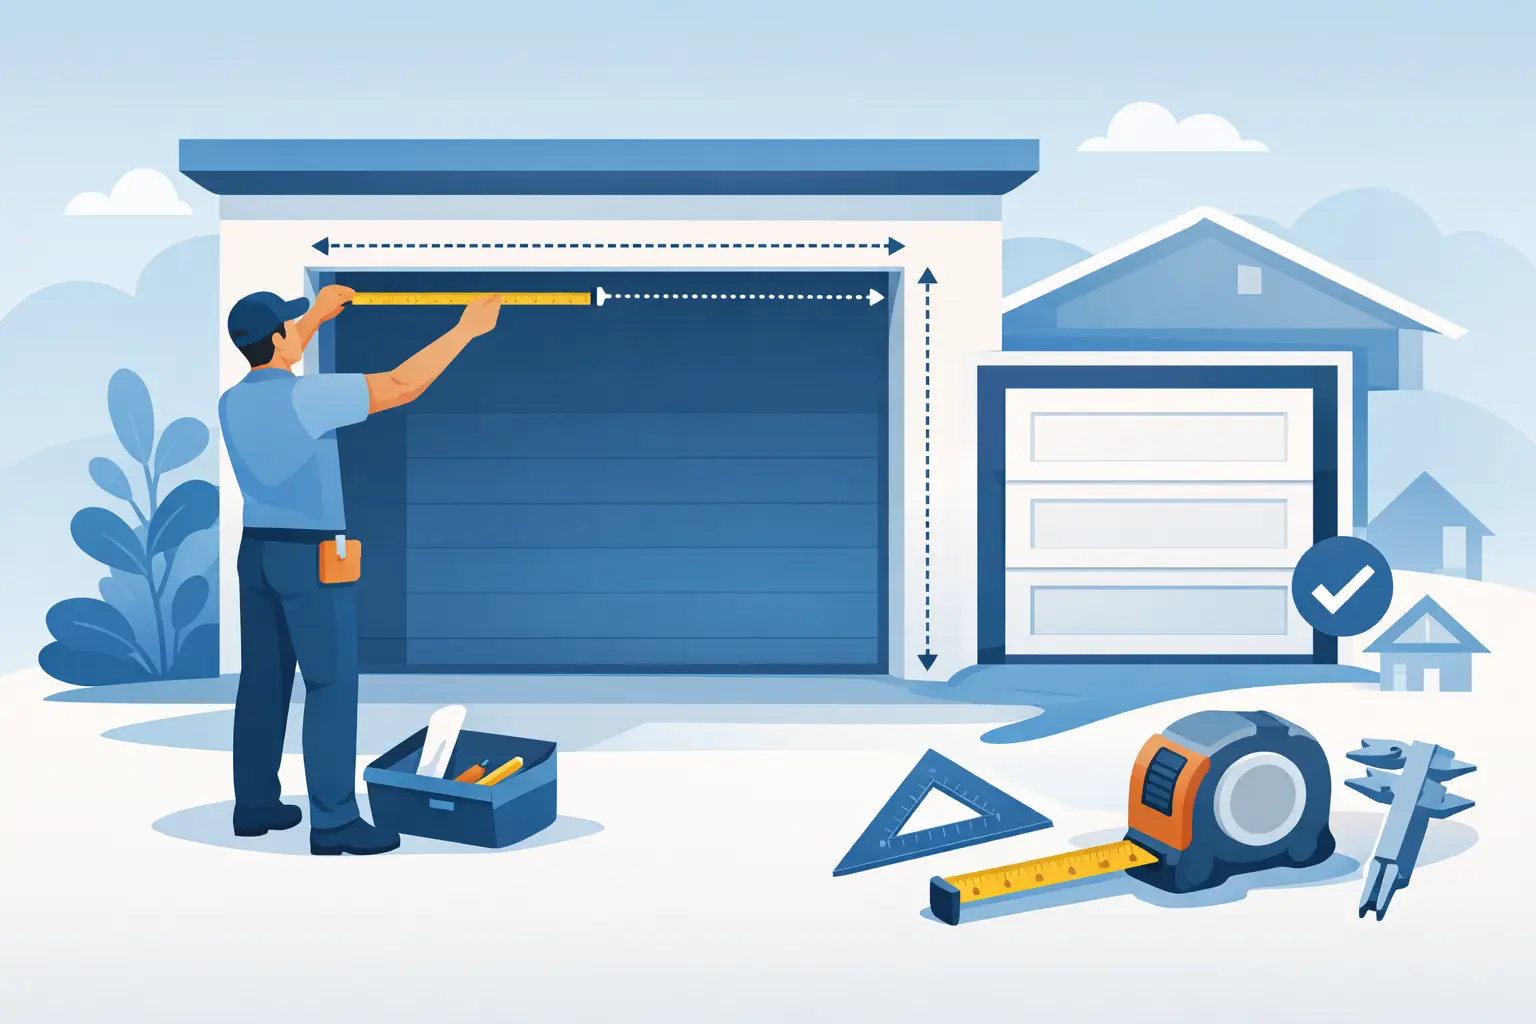
A garage door can look like a standard size from the driveway and still have framing, clearance, or floor conditions that change what will fit. Knowing how to measure garage opening before you order a new door helps prevent delays, surprise costs, and an installation day that takes longer than it should.
You do not need specialized tools to get the basic numbers right. A steel tape measure, a notepad, and a few minutes inside the garage will handle most residential measurements. For commercial overhead doors, oversized openings, or a garage with unusual framing, a professional site check is the smart next step.
Start With the Finished Opening Width and Height
Measure the opening itself, not the existing garage door. Stand inside the garage and measure the clear width between the finished jambs, from the left inside edge to the right inside edge. Write that number down in feet and inches.
Next, measure the clear height from the finished floor to the lowest point of the header at the top of the opening. Do not measure to a trim board, weatherstripping, or an old door panel. You want the actual structural opening where the new door will sit.
Take each measurement in more than one place. Measure width at the top, center, and bottom. Measure height on both the left and right sides. If the numbers differ, record the smallest measurement. A door must fit the tightest part of the opening, and uneven floors or shifted framing can affect the final setup.
Most residential doors are commonly sized in even-foot widths, such as 8, 9, 16, or 18 feet, but do not assume your opening matches a standard door. Older homes, detached garages, additions, and custom-built buildings often need a more specific solution.
Measure the Opening Diagonally
Measure from the upper left corner of the opening to the lower right corner, then from the upper right corner to the lower left corner. The two diagonal measurements should be close. If they are noticeably different, the opening may be out of square.
That does not always mean a new garage door cannot be installed. It does mean the installer may need to account for the condition of the framing, trim, tracks, or bottom seal. A door that is forced into an out-of-square opening can seal poorly, bind during operation, or wear parts prematurely.
Measure Side Room on Both Sides
Side room is the clear wall space beside each side of the opening. Measure from the edge of the opening outward to the nearest obstruction, such as a wall, shelving, electrical panel, door, window, pipe, or corner.
Write down the left-side and right-side measurements separately. They are not always the same. Standard garage door track systems generally need several inches of clear space on each side, but the exact amount depends on the door type, track style, spring system, and whether the installation uses a standard torsion setup or a low-headroom arrangement.
This measurement matters more than many homeowners expect. A garage can have a perfectly sized opening but still need a different track configuration because a water line, cabinet, or side door limits the available room. Do not move electrical equipment or remove structural material just to make a number work. Let a qualified installer review options first.
Check Headroom Above the Opening
Headroom is the vertical distance between the top of the garage door opening and the lowest obstruction above it. Measure from the top edge of the finished opening straight up to the ceiling, a beam, ductwork, a pipe, or anything else that would interfere with tracks or springs.
For a standard sectional garage door, more headroom gives the installer more options. Standard torsion spring systems typically need adequate room above the opening for the shaft, springs, and hardware. If your garage has low clearance, it may still be possible to install a door using low-headroom tracks or a different spring setup. The trade-off is that specialized hardware can add cost or limit certain door and opener choices.
Measure headroom in several spots across the width of the opening. A ceiling beam located near one side can be just as important as a low ceiling directly over the center.
Do Not Forget the Garage Door Opener
If you plan to install or replace an opener, look at the ceiling space beyond the header as well. A typical ceiling-mounted opener needs room for a rail that runs from above the door toward the back wall. Hanging storage racks, lights, beams, and a low ceiling can affect placement.
In tight garages, a wall-mounted jackshaft opener may be worth discussing. It frees up ceiling space, but it requires the right side clearance and torsion spring configuration. There is no one-size-fits-all answer - the correct option depends on the garage layout and the door being installed.
Measure Backroom to the Rear Wall
Backroom is the distance from the garage door opening to the back wall of the garage. Measure from the inside face of the opening straight back along the ceiling or floor to the nearest obstruction.
The horizontal tracks must have enough room to carry the door fully open. As a general rule, the required backroom is the door height plus additional space for the tracks, brackets, and opener setup. A 7-foot-tall door, for example, needs more than 7 feet of clear depth.
Check for storage shelves, vehicles, utility closets, water heaters, ceiling racks, and interior rooms that may block track travel. If you use the garage for parking, leave enough room for the fully open door and the vehicle. This is especially important in narrow detached garages and commercial bays where equipment is stored close to the rear wall.
Check the Floor and Framing Condition
Measurements tell you whether a door can fit. The floor and framing tell you whether it will seal and operate correctly.
Look at the concrete floor across the opening. Is it level? Are there cracks, a high spot in the middle, or a noticeable slope toward one side? A small slope is common, particularly in garages designed to drain water away. A bottom seal can often compensate for minor inconsistencies, but a badly uneven floor may need attention before installation.
Then inspect the jambs and header. Look for rot, loose trim, water damage, cracked masonry, bent steel, or framing that has pulled away from the wall. Garage door tracks and spring hardware must anchor to solid material. Covering a structural problem with a new door only creates a bigger repair later.
For commercial openings, also inspect the condition of steel jambs, weld plates, concrete, and any existing mounting angles. Heavy overhead doors place more demand on the building structure than a standard residential door.
Record Obstructions and Special Conditions
A simple sketch of the garage is useful. Mark the width and height of the opening, side room, headroom, and backroom. Then note anything that may affect installation, including shelving, pipes, electrical panels, windows, ceiling fans, attic access, light fixtures, and storage racks.
Take a few clear photos from inside the garage: one facing the opening, one of each side, one looking up at the header and ceiling, and one facing the back wall. Photos can help an installer spot potential issues before arriving, although final measurements should still be confirmed on site.
If the door is damaged, off track, or has a broken spring, do not try to remove cables, springs, or brackets while measuring. Those components are under serious tension. Measure what you can safely reach, then arrange service.
When to Have a Professional Confirm the Measurements
Basic measurements are helpful when you are requesting an estimate, comparing door styles, or planning a garage remodel. But the final door order should be based on a professional measurement, especially when the garage has low headroom, uneven framing, custom sizing, or a commercial overhead door.
Mike's Garage Door LLC can confirm opening dimensions, clearance needs, track options, and the condition of the existing hardware before a new door is installed. That extra check helps ensure the door fits correctly, seals against Wyoming weather, and operates safely from the first cycle.
Measure carefully, record the smallest clear dimensions, and pay attention to the space around the opening, not just the opening itself. A few accurate numbers now can make the difference between a straightforward installation and a problem that shows up after the new door is already on site.